


Rocky Linux is a Linux distribution which provides a community supported enterprise operating system. Just like its predecessor, CentOS , it serves to be the free, open-source version of the renown Red Hat Enterprise Linux (RHEL) distribution . Here, I will guide you on how to install this distro onto your computer with the use of a hypervisor .
Things you will need:
Host Machine (Windows or MacOS)
Hypervisor Software (Oracle VirtualBox or VMWare)
.iso Image of Rocky Linux
Patience
Installation Prep
Downloading the .iso file
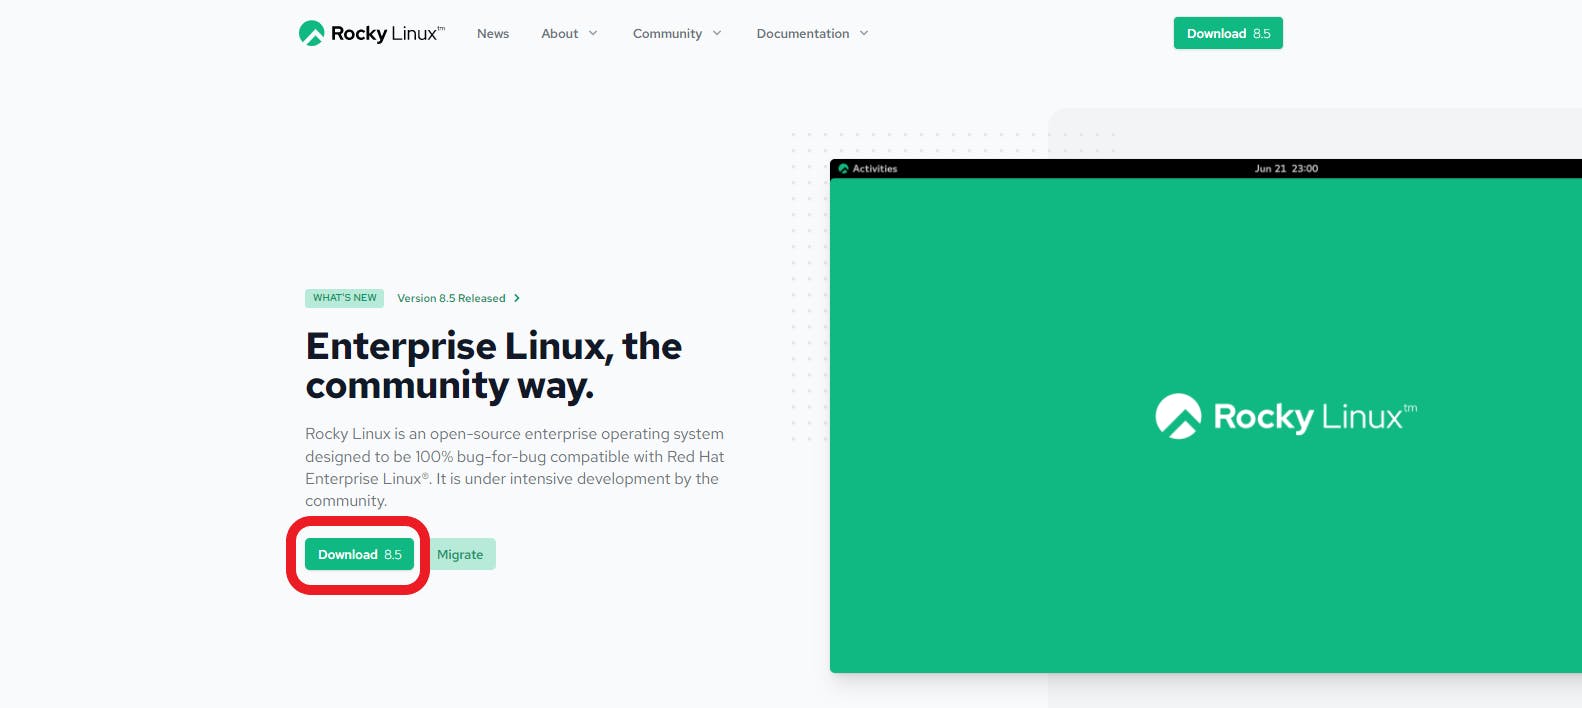
We will begin by going to Rocky Linux website, and click download from the main page.
From there you will see several options of ISOs for download. For our purpose, we will download the DVD .iso file.

The file download is 10GB, so the download times may vary based on your internet connection. In my case it took around 1 hour using my home network.
Installing to Hypervisor
For the purpose of this walkthrough, we will be using Oracle VirtualBox as our hypervisor.

(If you do not already have VirtualBox installed, you can download it HERE )
Once you open VirtualBox, click New. You will now see a wizard for creating a virtual machine
- Name
- Type: Linux
- Version: Other Linux (64-bit)
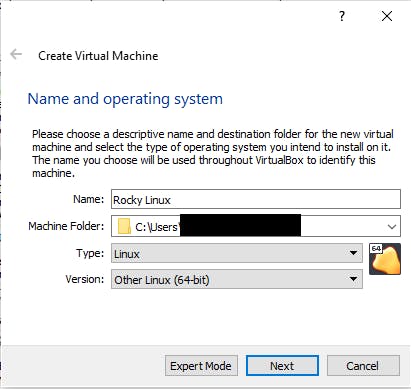
Once completed, click Next.
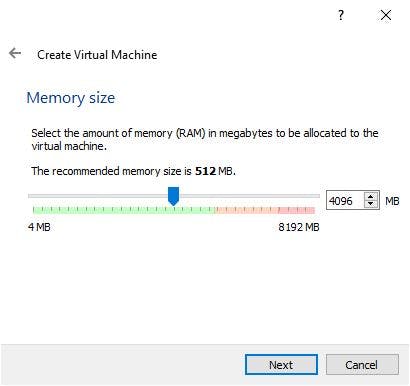
For memory (RAM) size, set it to 4096MB (4GB)
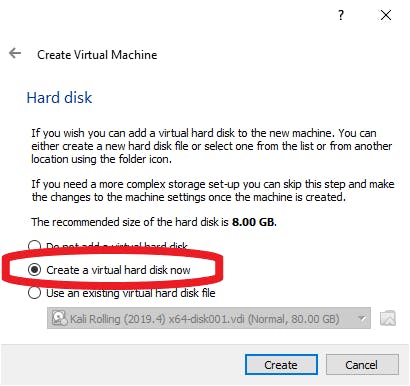
For hard disk, we will create our virtual hard disk now.
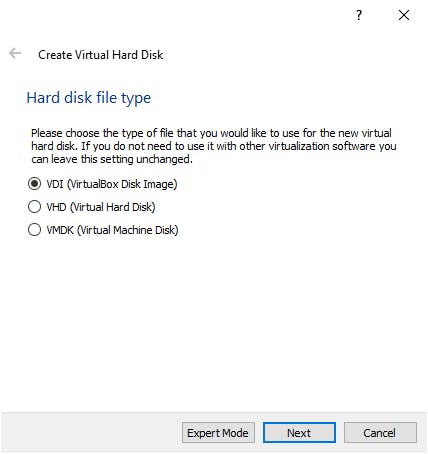
You will be asked to select your hard disk file type. We will use VDI (VirtualBox Disk Image)
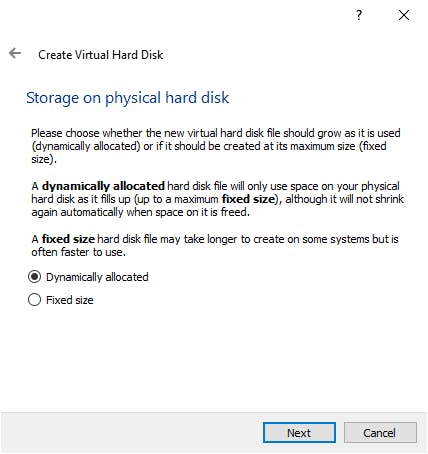
The storage on the disk will be set to dynamically allocated.
As for the size of the virtual hard disk you can make it any size you want. For this exercise we will make ours 50 GB.

Once you have done that, your Virtual machine should be available within you VirtualBox Manager.
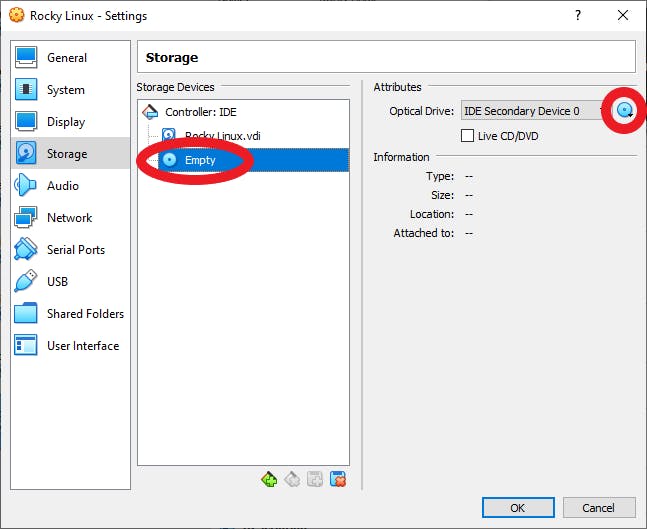
With your newly created Linux machine highlighted, click on settings. From there, go to storage, and highlight the empty drive under Storage Devices. Finally click on the CD icon under Attributes, and select Choose/Create a virtual optical disk.
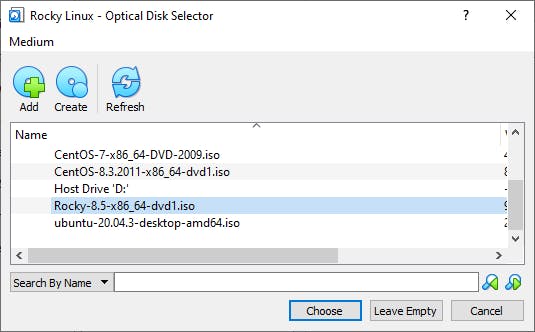
In the Optical Disk Selector, click add. From there select your Rocky Linux .iso file from the location where you have saved it, and click choose. Highlight your .iso image in the optical disk selector, and click choose.
Once that's completed, click ok to save and close your settings.
Now we have setup our machine, we are ready to install Rocky to our VM. Double-click your new Rocky Linux VM to boot it.
Rocky Linux Installation
Booting
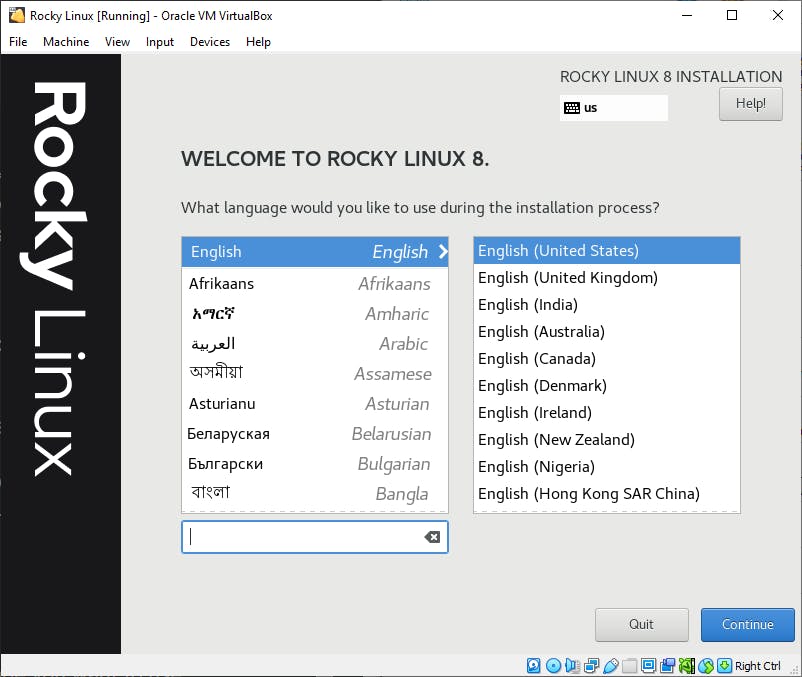
Install Language
On the first screen, select which language you want to use.
Configuring primary settings
On this page, it provides a summary of the items you can configure prior to installing the distribution. We will walk through all of the primary setting that we need to run this install.
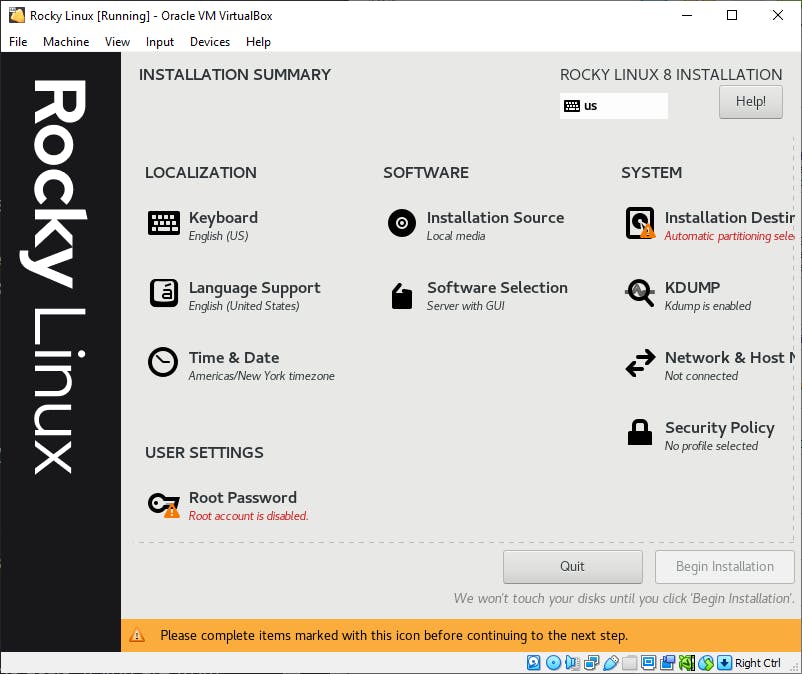
Keyboard
In this section, you will select your keyboard layout. If you are based in the United States, you can leave the settings as-is. If you are from outside the U.S., click the plus (+) sign, and select the language that best fits your needs.
Once completed, click done.
Language
Same as the keyboard section, you will select your language. If you are based in of the United States, you can leave the settings as-is. If you are from outside the U.S., select the language that best fits your needs.
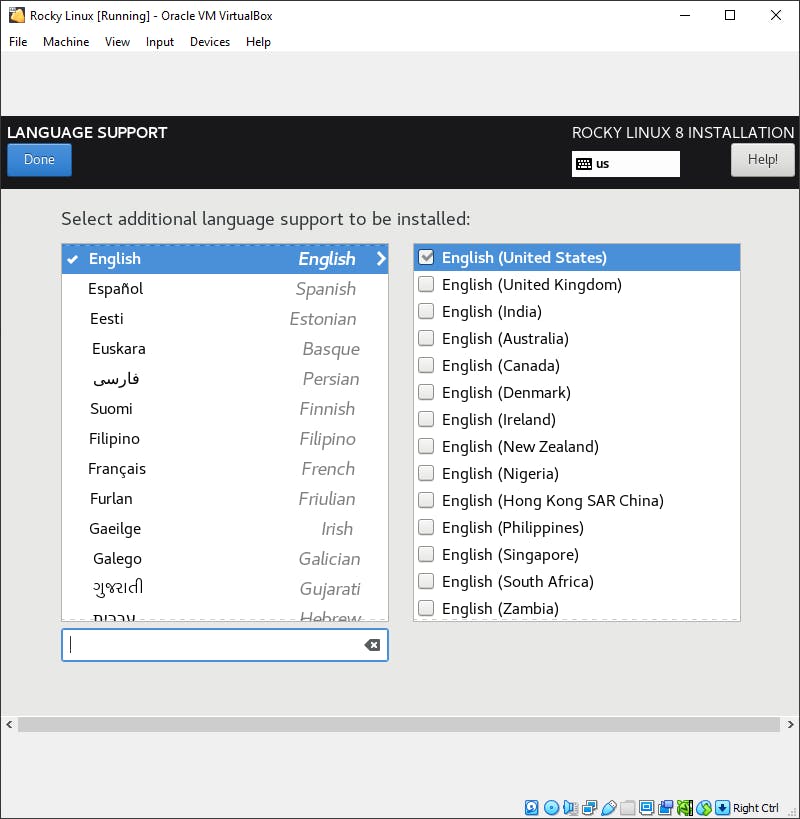
Once completed, click done.
Time/Date
In this section, you will select your time zone. Choose the time zone that is closest to your region and city. You can also choose of you want the clock to be displayed in 24 hour format or AM/PM format.
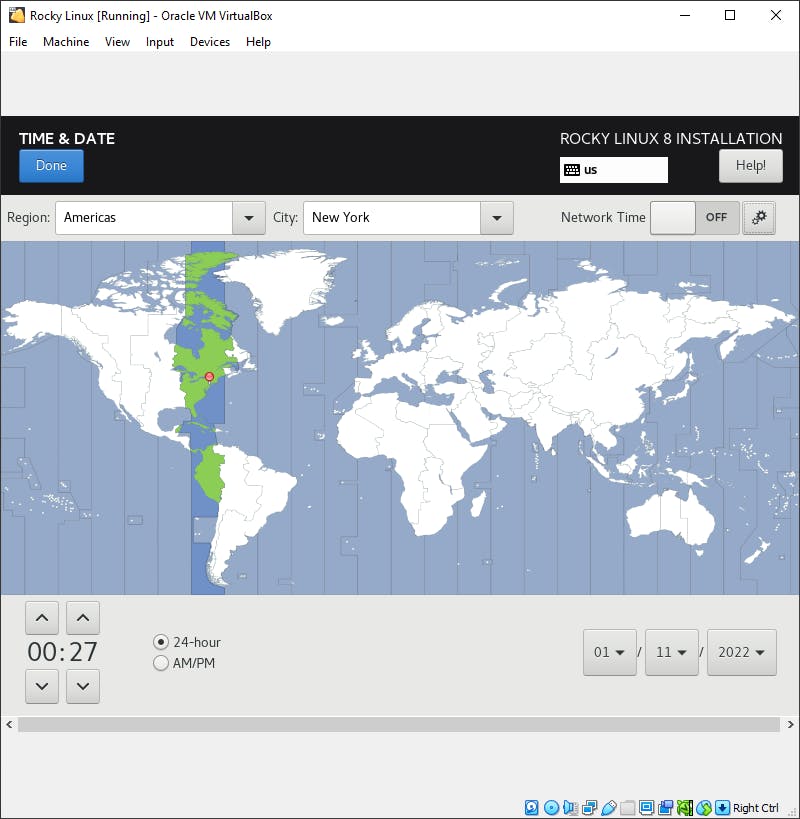
Once completed, click done.
Installation Source
Since we have already attached our disk image, it should be auto-detected. To confirm this, click verify.
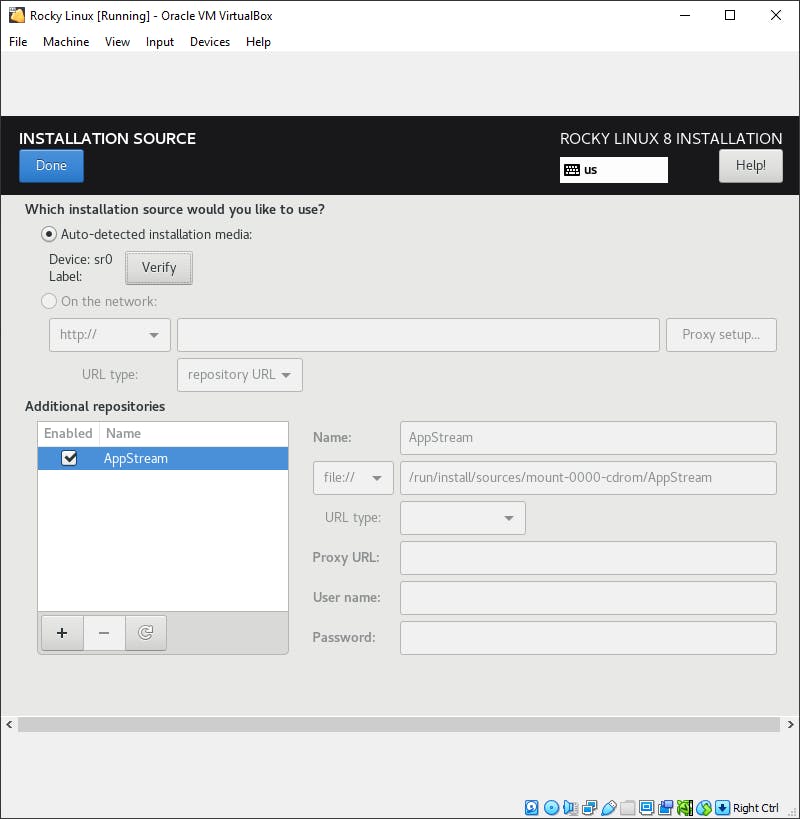
Once verified, click done.
Software Selection
In this section you have various options in terms of installation. To keep the walkthrough as simple as possible. we will leave the selected Server with GUI as-is.
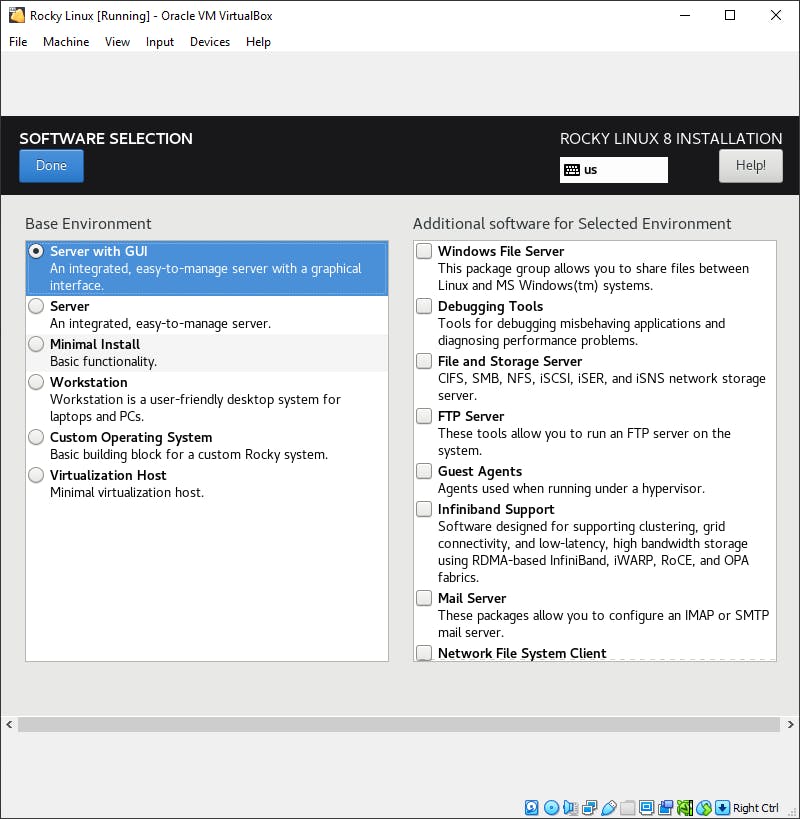
Once completed, click done.
Install Destination & Partition Configuration
In this section we will choose where we would want to install our server. The only option you should see is the virtual hard disk that we created earlier in settings. If not already, select the virtual hard drive as the install destination.
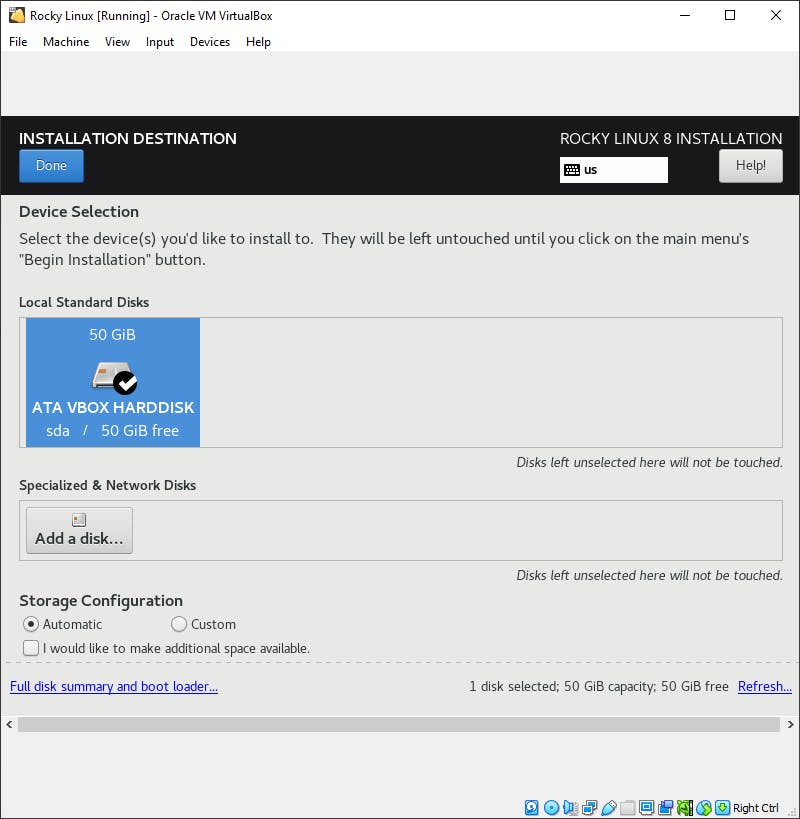
Once completed, click done.
Configure Network & Hostname
Enable internet connection to you virtual machine be toggling the ethernet switch to on.
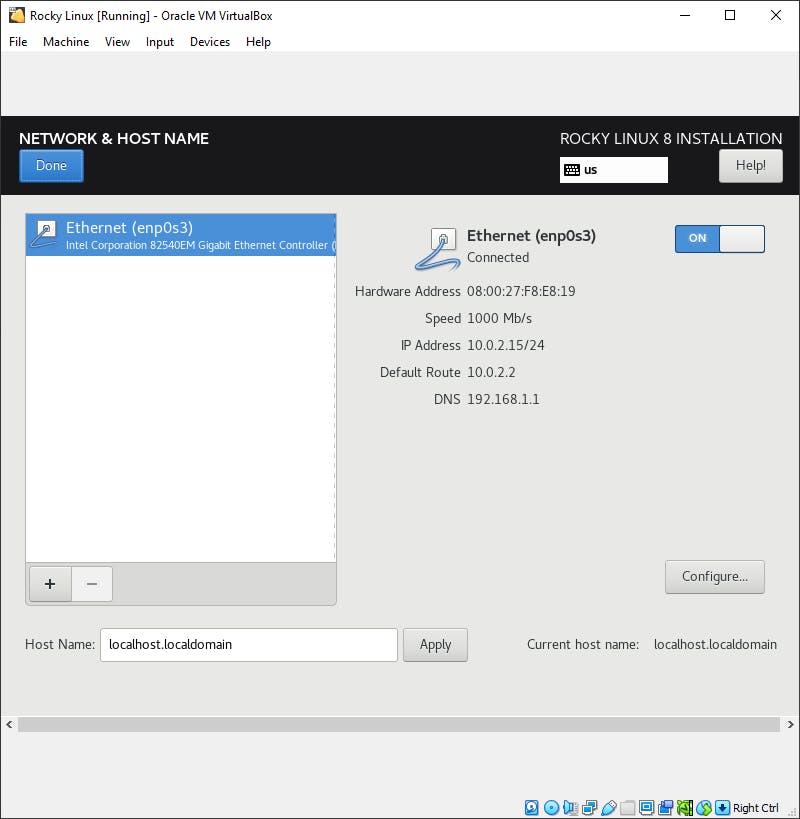
Once completed, click done.
Root Password
The root account is strictly used for system administration. You must create a password here to gain access to root when performing more advanced tasks.
Once completed, click done.
User Creation
In this section, you will create you user account and password that you will you to login to your machine later. Enter your name and create a username (if you do not want the default name)
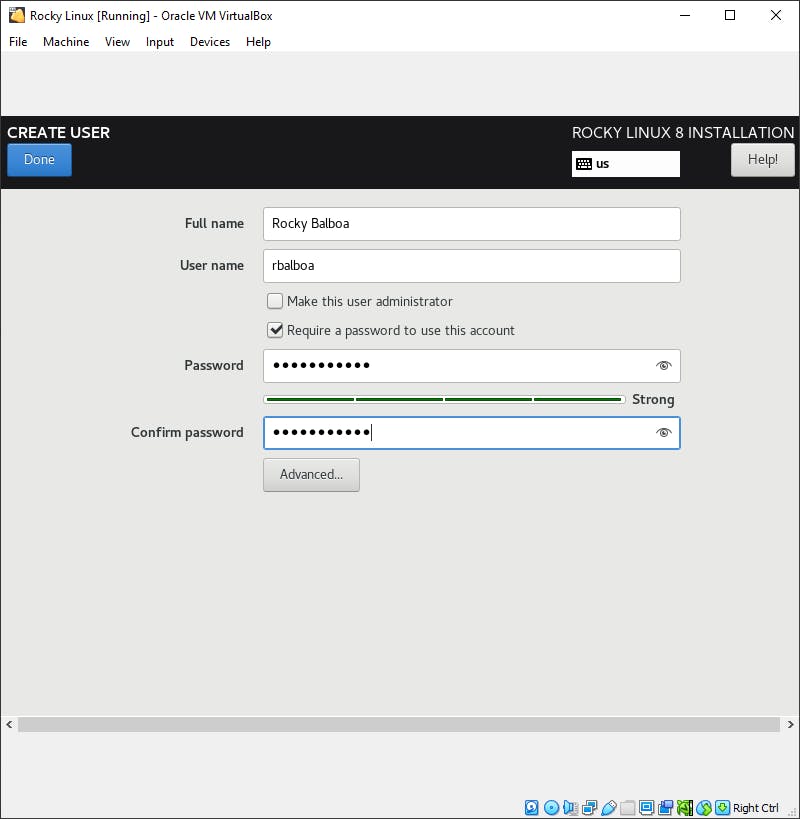
Leave "Make this user administrator" UNCHECKED. Create your password Once completed, click done.
Begin Install
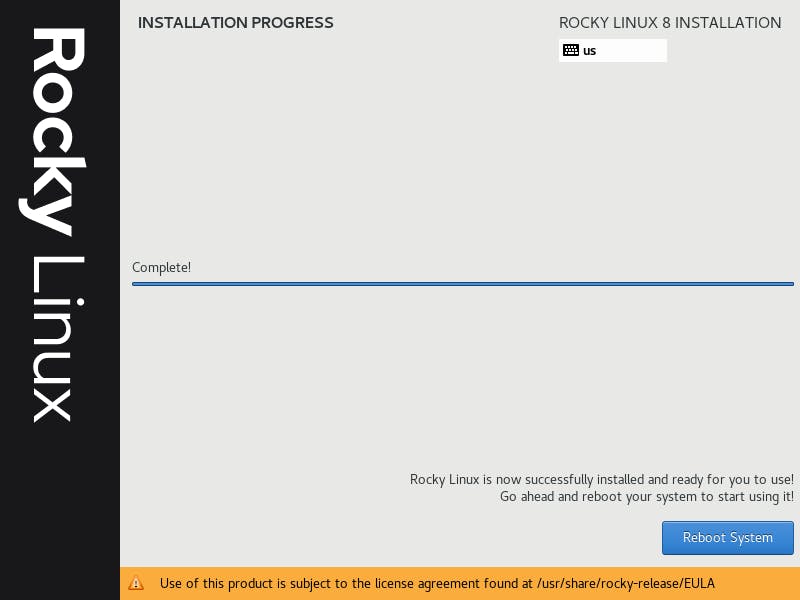
Once completed, click Begin Installation. The installation typically takes several minutes to finish. In my case it took a little over an hour.
Once the install is completed you can click Reboot System.
When the system reboots, You will see an initial setup screen, with an option for License information.
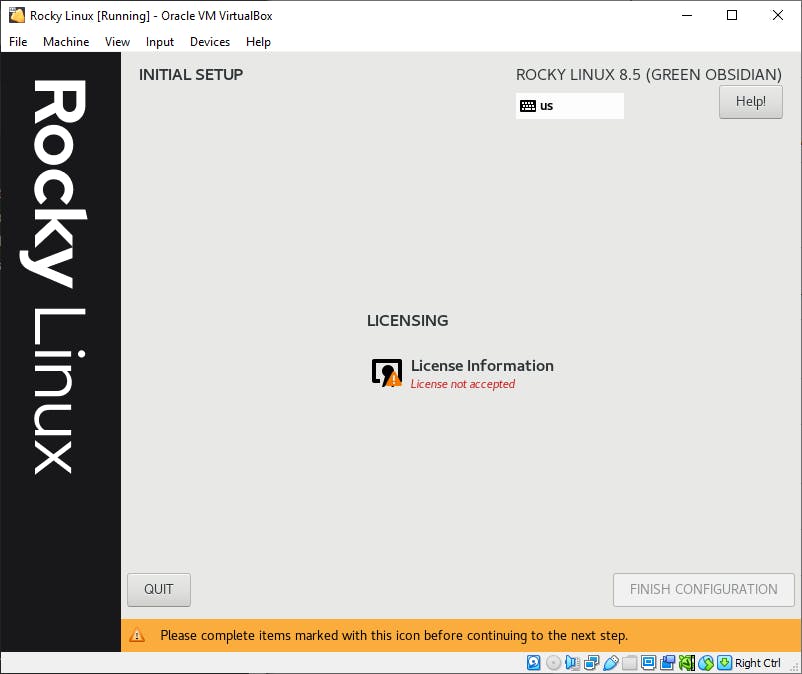
Check the box to accept the license agreement. Once you have done that, click Finish Configuration.
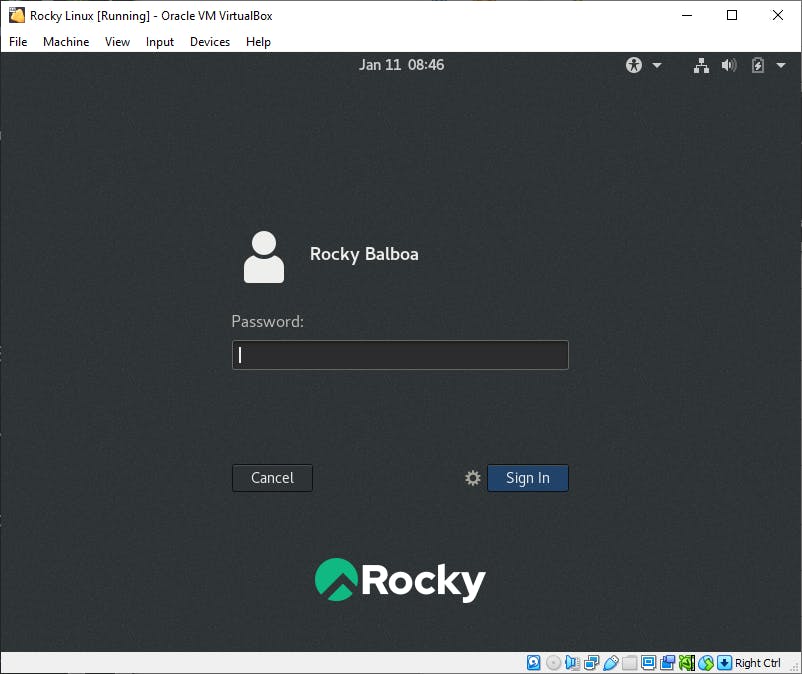
You should now see a logon screen with your name. Click on your name.
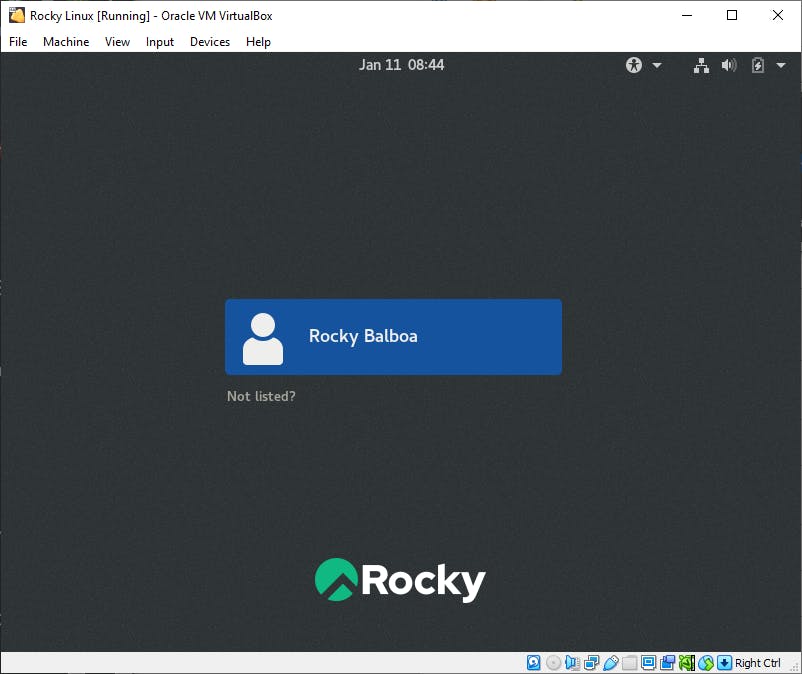
You now should have a prompt to enter your password. Enter your password, then proceed to sign in.
Once logged in you be presented with a welcome screen. Proceed to go through the welcome settings (language, keyboard, privacy, etc.) to begin using Rocky.
Wrap Up
Congratulations! You have now completed your installation of Rocky Linux. Feel free to explore the distribution, and find out how you can use it for your personal or business use.

I have created a video walkthrough of the installation that you can follow step-by-step that you can check out here.
If you have any further questions you can contact me on LinkedIn, Twitter, or Instagram.